FontForge on Mac OS X
FontForge is a UNIX application, so it doesn’t behave 100% like a normal Mac Application. OS X 10.15 or later is required.
Download and install FontForge 2023-01-01
For releases before 2019-03-17
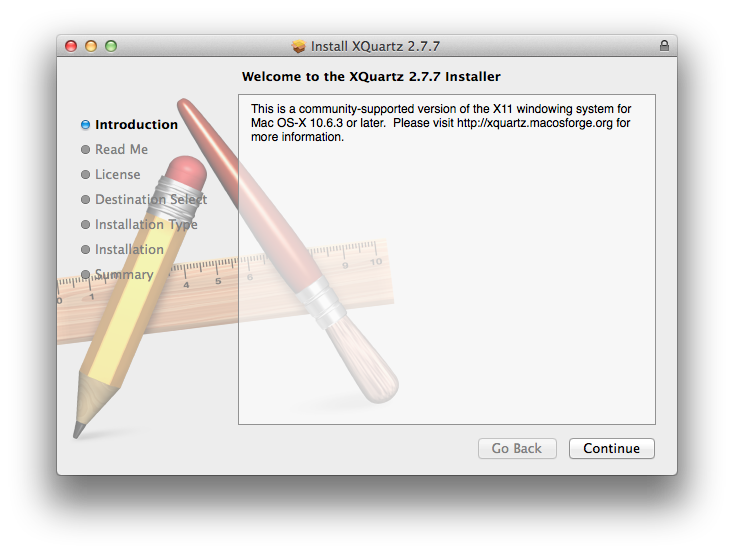
1. Install XQuartz
Without XQuartz, FontForge will open a Dock icon but not load any further.
Open Finder and look in your /Applications/Utilities/ folder for the XQuartz app.
If you don’t have it then download and install: direct link to XQuartz-2.8.1.dmg
Log out and log back in to ensure it works correctly
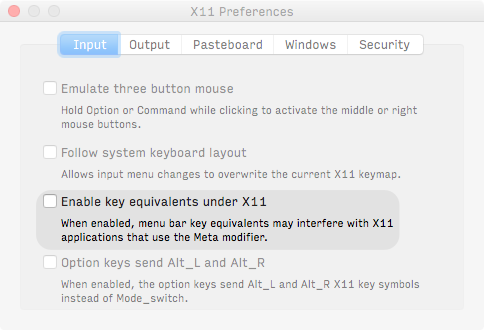
Just this first time, start XQuartz from Applications/Utilities/XQuartz.app, go to the X11 menu, Preferences, Input, and turn off the Enable keyboard shortcuts under X11 or Enable key equivalents under X11 preference item. FontForge will start XQuartz automatically for you next time.
2. Install FontForge
For users of OS X 10.10 and later, download and install FontForge 2017-07-31
For users of OS X 10.09, download and install FontForge 2015-04-30
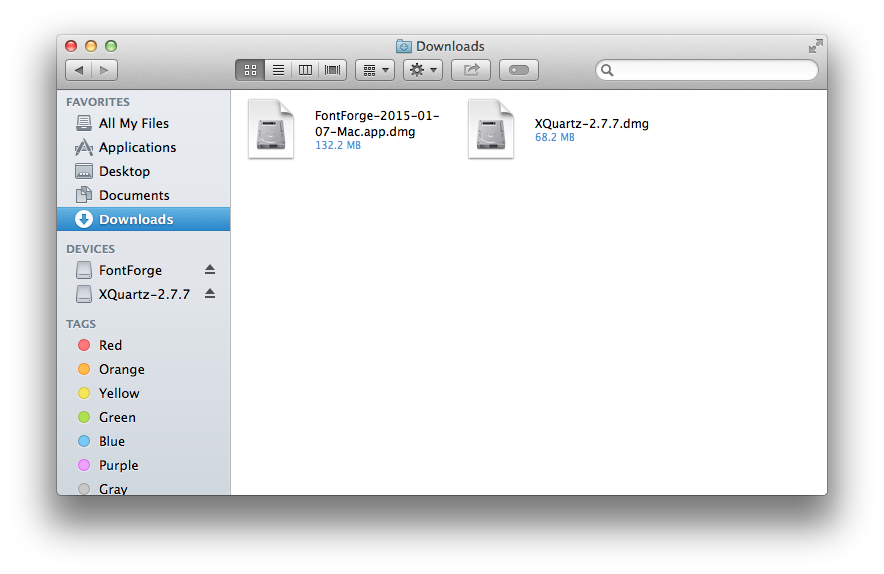
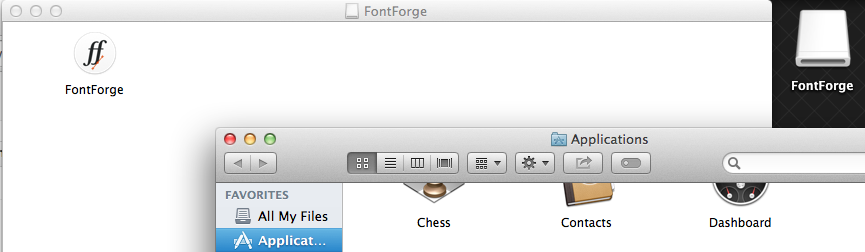
Open it and move the FontForge.app file to /Applications - do not move it anywhere else
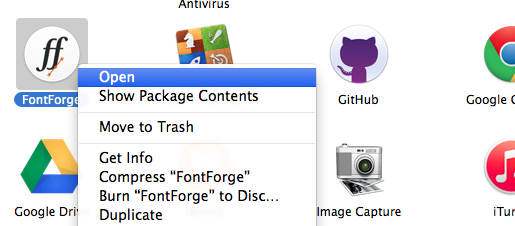
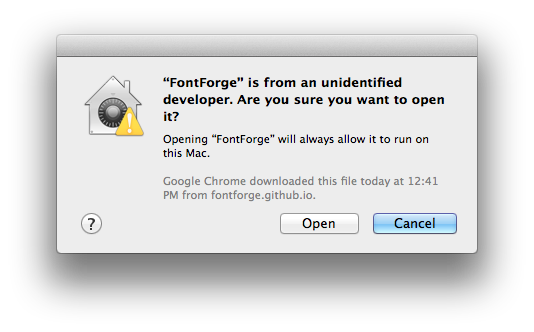
Right Click (or hold the Command key and click once) and choose Open from the menu, and confirm you want to open the app
You may see a dialog box saying “Choose Application. Where is X11?” with a sort of Finder window. Find XQuartz in Applications/Utilities and click OK
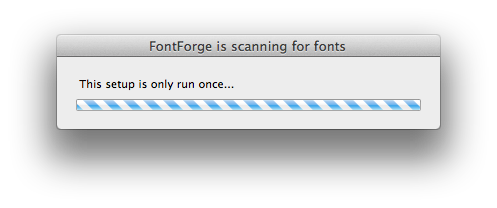
Be patient while it runs a first-time setup process
FontForge will create a new font and show you its glyphs in a table:
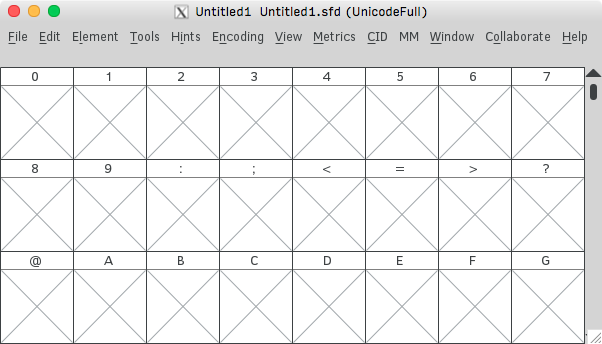
Next time, it will open fast and in any typical way: double clicking it, drag it to the dock, using Launcher, Spotlight or Quicksilver…
Tips
When you run FontForge, its dock icon will disappear after it is launched, because it is controlled by XQuartz.
To bring fontforge’s windows to the font, click the XQuartz icon, or use Alt+Tab to switch to it.
Problems?
If you have any problems with installation or upgrading, create a Github Issue to discuss with our community.
Other sources and versions
You can also install Development Snapshots, install using Package Managers or build from source
Development builds Pkg manager Source
See developer builds for instructions.
Once downloaded, to install an update:
- Drag and drop the new FontForge.app into
/Applicationsand replace it - Start FontForge again
Building from source
Build with source using Homebrew:
brew install python gettext libpng jpeg libtiff giflib cairo pango libspiro czmq fontconfig automake libtool pkg-config glib pango gtk+3
./configure --enable-gdk=gdk3
make -j4 && make install
Advanced Configuration
To make FontForge more pleasant to use, you can change some aspects of the way it works on Macs. These steps are optional.
Hot keys UI size 3-button mouse
If the hotkeys are unfamiliar, you can change them!
- quit FontForge (and X11, for versions prior to 2019-03-17)
- with your text editor, open
/Applications/FontForge.app/Contents/Resources/opt/local/share/fontforge/hotkeys/default - change the hotkeys and save the file
- start FontForge again
If the UI appears very big or very small, you can change the way the UI is sized.
- quit FontForge (and X11, for versions prior to 2019-03-17)
- with your text editor, open
/Applications/FontForge.app/Contents/Resources/opt/local/share/fontforge/pixmaps/resources - measure the physical width of your screen in centimeters. In this example, it is 34cm wide.
- add a new line,
Gdraw.ScreenWidthCentimeters: 34and save the file - start FontForge again
- if the scaling is still not right, play with the value until it is
FontForge is designed to make use of a three button mouse. It is also designed to make use of modifier keys on mouse clicks (eg, Control-left-click can mean something different than left-click.)
If you have a standard one button mouse, then you have the option of having the Mac simulate a three button mouse (for instance Option-left-click behaves like clicking the middle mouse button). Unfortunately this means you can no longer use the Option key to change the behavior of the left (only) button click. To enable this, click the XQuartz app in the Dock, and then go to X11 menu in the top left, Preferences, Input, and turn on Emulate three button mouse
If you have a two or three button mouse, then use it (and turn off Emulate three button mouse in the X11 preferences.)
Don’t miss an update!
Subscribe to the FontForge announcement list.
You can also subscribe to the user and developer lists.